
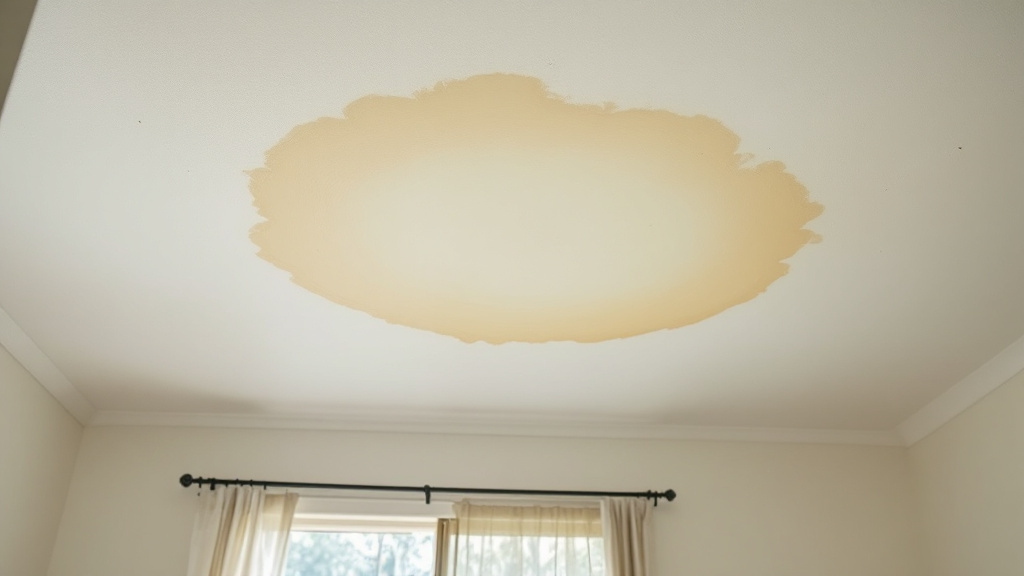
After a Brisbane storm, a brown stain on the ceiling is often the first sign that water got in. Sometimes it’s a small mark near a light. Sometimes the plasterboard is sagging and dripping. Either way, the order you do things in matters: make the room safe, record the damage, stop the water, let the ceiling dry, then repair it.
Whether a water damaged ceiling can be patched or needs new plasterboard depends on how wet the board got and for how long. A small stain on firm, dry board can often be sealed and painted. Board that’s soft, bowed or crumbling has to be cut out and replaced.
Here’s what to do, step by step.
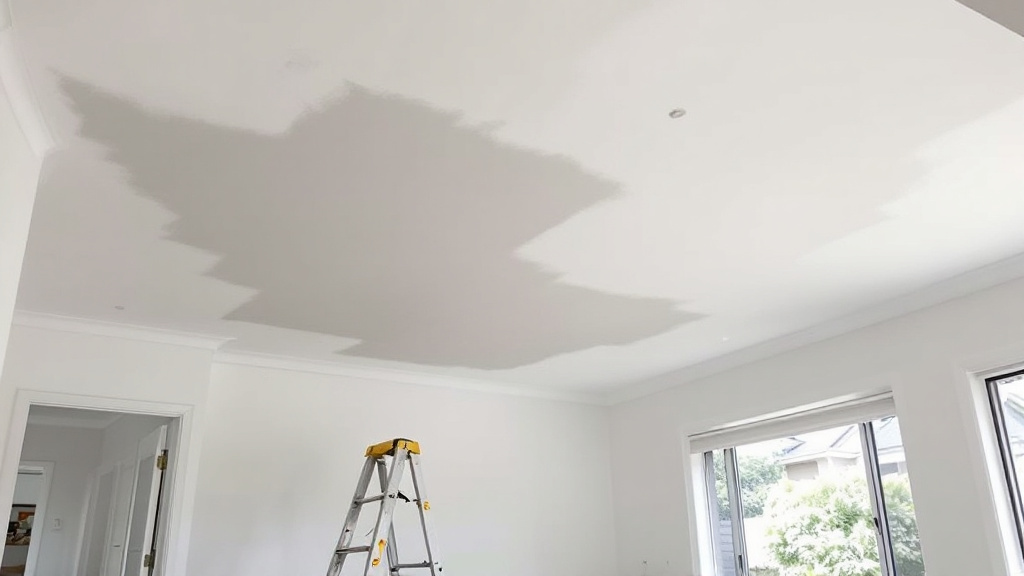
Step 1: Make a water damaged ceiling safe first
Safety comes before anything else, because a wet ceiling is heavy. Plasterboard soaks up water and can drop without much warning.
- Keep clear: Don’t stand or sleep under a ceiling that’s bowing or bulging. Move people, pets and furniture out of the room.
- Catch the water: Put a bucket under any drip and protect the floor.
- Leave the light fittings alone: If water is near a light, a fan or a switch, don’t touch them.
- Stay away from a wet switchboard: Queensland’s Electrical Safety Office says to stay away from switchboards and not touch them if they’ve been damaged by water (Electrical Safety Office, Electrical safety during storms).
The same page says not to do your own electrical work and to always use a licensed electrician. If your property was damaged in the storm, a licensed electrician may need to test the switchboard and wiring before the power is reconnected.
Asbestos in an older storm damaged ceiling
If the house was built before 1990, be careful with any ceiling debris. The Queensland Government says houses built before 1990 are likely to contain asbestos, and because you can’t tell by looking, you should assume a material is asbestos and treat it that way (Queensland Government, How to handle asbestos safely after a storm). Don’t sweep, break or cut old ceiling sheets until you know what they’re made of.
Step 2: Photograph the water damaged ceiling before any repair
Photos are the first thing to sort out if you’re making an insurance claim. The Queensland Government suggests taking photographs, videos and an inventory of damaged goods, and contacting your insurer before you authorise major repairs (Queensland Government, Insurance).
For the ceiling, it helps to capture these (a phone camera is fine):
- Wide shots: The whole room, so it’s clear where the damage is.
- Close ups: The stain, any sagging, cracks along the joins and peeling paint.
- The source: The roof, gutter or pipe the water came from, if you can see it safely.
- Over time: A photo each day if the stain is growing.
Every policy is different, so check with your insurer about what they need. A plasterer can give you a written scope of the ceiling repair if your insurer asks for one.
Step 3: Stop the leak before a water damaged ceiling repair
A water damaged ceiling repair won’t last if water keeps coming in. The roof leak, the blocked gutter, the cracked tile or the burst pipe has to be fixed first by the right trade.
Once the source is fixed, keep an eye on the stain through the next rain. If it doesn’t grow, the leak has probably been sorted. If it keeps spreading, there’s still water getting in somewhere.
Step 4: Let the water damaged ceiling dry out
Plasterboard has to be completely dry before it’s repaired or painted. If you paint over damp board, the stain comes back and the paint can bubble or peel.
Open windows when the weather allows, run fans and keep the room aired. In Brisbane’s humid months that can take a while. Insulation above the ceiling can stay wet for longer and keep the board damp, so it’s worth checking once the roof is safe to get into.
How to tell if a water damaged ceiling has dried
- Touch: The board feels firm and the same temperature as the dry parts of the ceiling.
- Colour: The stain has stopped spreading and the edge has stopped changing.
- Smell: There’s no musty smell in the room.
If you’re unsure, a plasterer can check the ceiling and tell you whether it’s ready to repair.
Step 5: Repair or replace the water damaged ceiling
The choice comes down to the condition of the plasterboard once it has dried out.
When a water damaged ceiling can be repaired
A repair usually works when:
- The board is firm: It feels solid when pressed with a flat hand.
- The damage is a stain: Only the paint and the paper face are marked.
- The joins are intact: The joint tape and setting haven’t lifted or cracked.
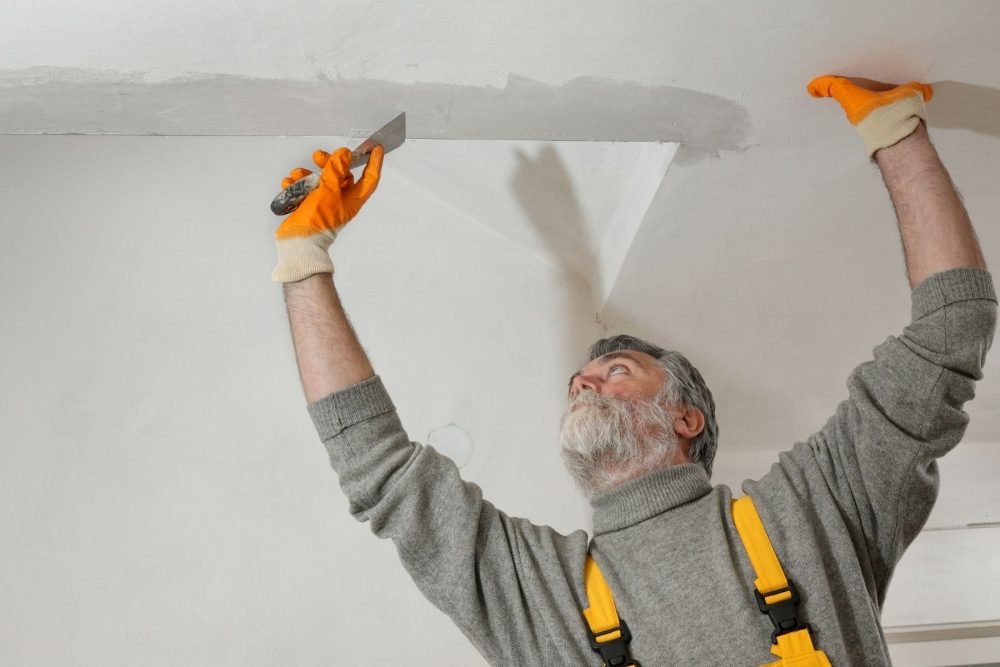
In that case, the ceiling is cleaned, any loose paint is scraped back, small cracks are filled and sanded, then a stain blocking sealer goes on before the ceiling paint. Skip the sealer and a water stain can show back through the new paint. Our residential plastering and repairs page covers water damage repairs for Brisbane homes.
When a water damaged ceiling needs new plasterboard
Board that got soaked through usually has to come out. Signs include:
- Sagging: The ceiling bows down between the battens or joists.
- Soft or crumbly board: It gives when pressed, or breaks up at the edges.
- Lifting joints: The joint tape has bubbled or come away.
- Large stains: The damage covers a big part of the ceiling, or spreads over several sheets.
- Mould: Mould that keeps coming back after cleaning.
The damaged section is cut back to sound board, or the whole ceiling sheet is replaced. The battens and framing above are checked to make sure they’re dry and solid. New plasterboard goes up, the joins are set and sanded, and the cornice is replaced or matched where needed. Then the ceiling is sealed and painted.
What affects the cost of a water damaged ceiling repair
There’s no set price for a storm damaged ceiling, because the damage is different in every house. These are the things that change it:
- Repair or replace: Sealing and painting a stain is a much smaller piece of work than replacing sheets.
- Area affected: One patch near a downlight versus a whole room.
- Ceiling height and shape: High, raked or VJ style ceilings take more setting up.
- Cornice: Whether the existing profile can stay or needs matching.
- Painting: Whether the whole ceiling is repainted so the repair doesn’t show.
- Asbestos: Older ceilings may need testing before any work starts.
A free quote is the way to find out what your ceiling needs. Contact us and tell us what you’ve noticed, where the water came in and when it happened. Photos help us explain your options.
Water damaged ceiling repair: the short version
Make the room safe and photograph everything. Then stop the water, let the ceiling dry, and repair what can be saved. A small stain on firm board is a quick fix. A sagging, soft ceiling needs replacing, and the sooner the better.
Brisbane Plaster Pro. Call (07) 3064 0686. QBCC Licence 15576119 (MGH Contracting) and QBCC Licence 15511709 (All Paintworx).